Why Growing Even a Little Food Still Matters
And how to plant your own modern-day victory garden in Zone 7a
The price of eggs. The cost of lettuce. The quiet recalculating at the checkout line.
Food has become a conversation again.
Not just in the way we talk about recipes or restaurants, but in the way we talk about systems—supply chains, unpredictable weather, transportation costs. Even those of us who once rarely considered how strawberries made it from field to fridge are more aware of the fragility behind the abundance.
In moments like this, planting a seed can feel quietly radical.
We are not going to outgrow the global food system in our backyards. But growing even a little food reconnects us to participation instead of passivity. It is, in many ways, a modern-day victory garden—not born of wartime rationing, but of awareness, resilience, and intention.
And here in Zone 7a, where our growing season stretches generously from April through October, even a modest effort can yield surprising abundance.
A Garden That Fits Your Real Life
A modern victory garden does not require a sprawling yard. It might be a single raised bed, a row along a fence, or a cluster of containers gathered on a sunny patio.
Start by asking a practical question: What do we actually eat?
If your family goes through bags of salad greens each week, lettuce is a natural choice. If pasta night requires fresh basil, grow basil. If your children snack on cherry tomatoes straight from the carton, plant a compact tomato variety in a five-gallon bucket.
Zone 7a is particularly forgiving.
Once the threat of frost passes—usually by mid- to late April—warm-season crops thrive. Tomatoes, peppers, cucumbers, zucchini, and green beans all perform beautifully in our long summers. In early spring and again in late summer, cooler crops like lettuce, spinach, kale, Swiss chard, and radishes step in.
What many gardeners don’t realize is that we essentially get two growing seasons here: a spring run and a fall encore. If something falters in May, there is often another opportunity in August.
If You Only Have a Patio
Let’s remove one of the most common perceived barriers: you do not need land.
A patio that receives six to eight hours of sunlight can support two tomato plants in large containers, a pepper plant, a trough of lettuce, and a pot of basil. Strawberries trail beautifully over the edges of planters. Herbs thrive in contained spaces.
The most important decisions happen before you even plant. Use quality potting soil rather than scooping from the yard. Make sure containers have drainage holes. Accept that containers will require more consistent watering, especially in July’s heat. Feed them lightly once a month.
That small cluster of pots will not feed your household year-round. But it will noticeably supplement your summer meals, trim your grocery runs, and deepen your understanding of seasonality.
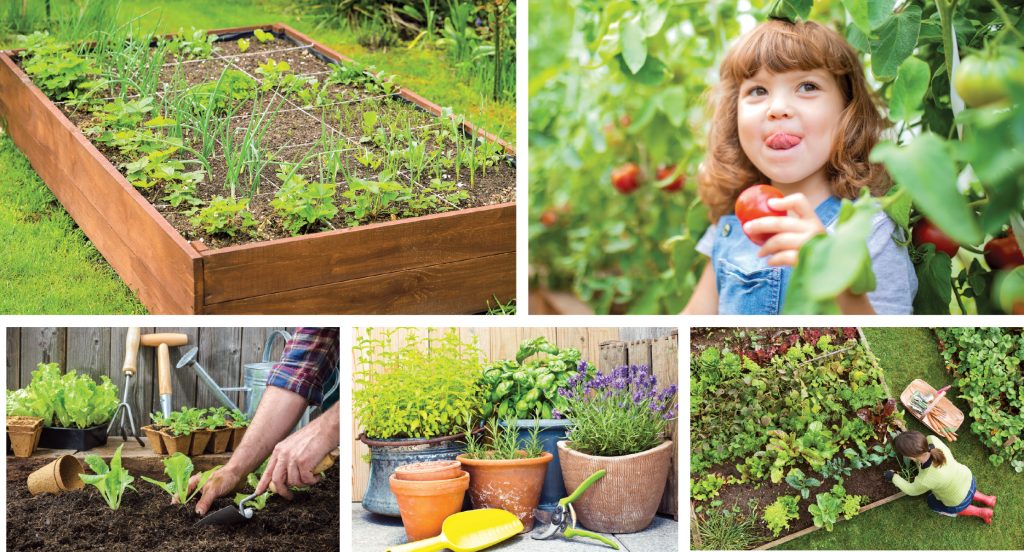
If You Have Space for a Raised Bed
A single 4-by-8-foot raised bed can be surprisingly productive when planted thoughtfully.
Rather than traditional long rows, think in terms of efficiency. Two well-staked tomato plants along the back edge.
A few peppers nearby. Lettuce tucked into corners. Basil planted between tomatoes, where it appreciates the warmth. A simple trellis allows cucumbers or beans to grow upward rather than sprawling outward.
Vertical growth changes everything in a small space.
Raised beds also offer control—better soil, clearer boundaries, easier weeding. And they need not be elaborate. A simple framed structure set over cardboard to suppress grass works beautifully. It does not need to be permanent to be meaningful.
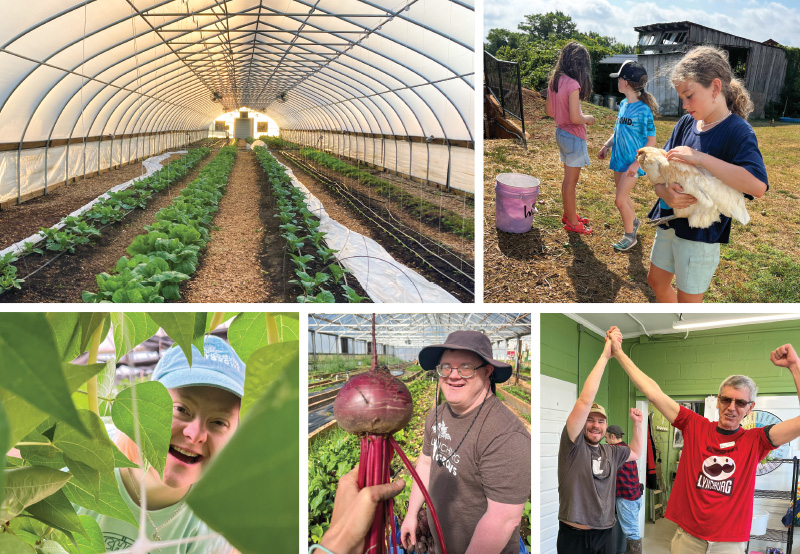
Teaching Children Where Food Comes From
If you have children, invite them in early.
Let them choose a plant at the nursery, hand them a small trowel, and give them ownership over watering. Celebrate the first harvest together—even if it’s just a handful of cherry tomatoes.

There is something transformative about watching a child pull a carrot from the soil and realize vegetables begin in dirt. Gardening teaches patience in a world of immediacy. Seeds do not sprout because we want them to. Peppers do not ripen faster because we are hungry.
Plants operate on their own rhythm and that rhythm shapes gratitude, stewardship, and even shapes how children think about waste when they understand the effort behind what lands on their plates.
The Mental Health Case for Soil
There is research supporting what many gardeners intuitively know: tending soil steadies us.
The repetitive acts of planting, watering, and weeding regulate the nervous system. Time outside reduces stress. Watching something grow over weeks builds a quiet sense of progress that our fast-paced lives rarely provide.
But beyond research, there is something deeply grounding about the physicality of it.
You cannot rush germination. You cannot scroll while pruning. Gardening demands presence.
Morning watering becomes a ritual. Evening harvesting becomes a reflection. The work unfolds slowly, almost imperceptibly—and that slowness feels corrective in a culture built on urgency.
Start Smaller Than You Think
The biggest mistake new gardeners make is overplanting. A modern victory garden is not about ambition, but about sustainability.
If you are unsure where to begin, start with just three things:
• Two tomato plants
• One herb you use weekly
• A small patch or container of lettuce
Learn your sunlight patterns. Notice how quickly containers dry in midsummer. Observe what thrives and what struggles. Adjust next year.
Even a Little Still Matters
Growing food will not untangle global supply chains. It will not eliminate rising prices. But it will change your relationship to what’s on your plate.
A tomato picked warm from the vine carries context. You remember the tiny yellow blossom. The weeks of waiting. The afternoon you worried you had forgotten to water.
And in a season when so much feels abstract and overwhelming, there is deep comfort in something tangible: You planted it. You tended it. You watched it grow.
Whether it’s a backyard bed or a single pot on a patio, even a little still matters.


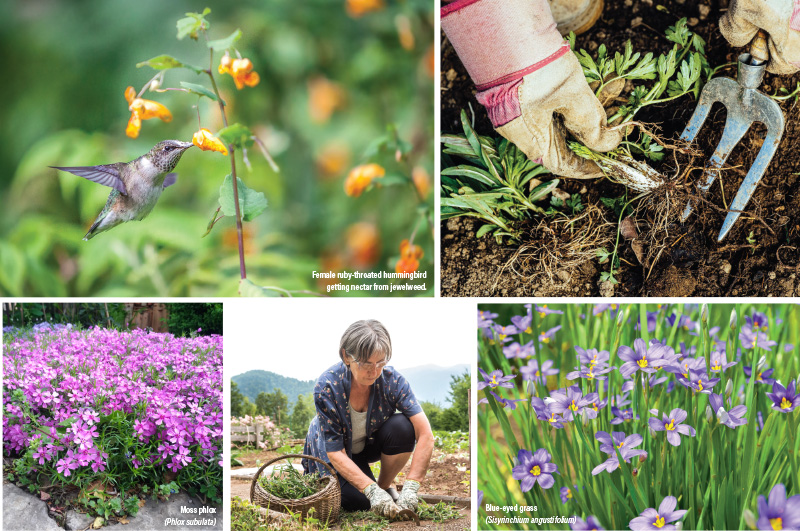
 Carolina Chickadee
 Woodpeckers: Downy & Red-bellied