What to Eat Before & After You Play
Fueling for endurance, recovery, & everything in between
Whether you’re stepping onto the pitch with Hill City FC (see page 94), squeezing in a rec league game after work, or simply chasing a toddler across the backyard, how you fuel your body matters. The difference between feeling energized and hitting a wall often comes down to what—and when—you eat.
The good news? You don’t need a complicated nutrition plan to support endurance and recovery. A few strategic choices can help you perform better, recover faster, and feel more balanced overall.
Before You Play: Fuel for Endurance
Think of your pre-activity meal as your body’s primary energy source. The goal is to top off your glycogen stores (your muscles’ preferred fuel) without weighing yourself down.
For most people, that means prioritizing carbohydrates, adding a moderate amount of protein,
and keeping fat and fiber relatively low right before activity to avoid digestive discomfort.
If you have a few hours before activity, aim for a balanced meal:
• Grilled chicken with rice and roasted vegetables
• A turkey and cheese sandwich with fruit
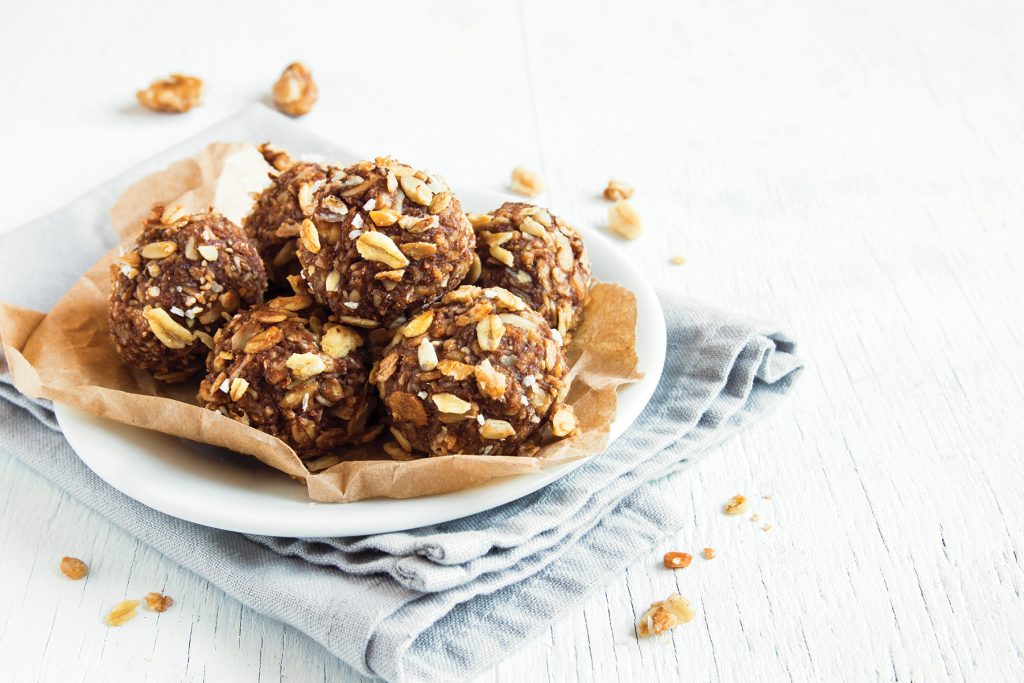
• Oatmeal with nut butter and berries
If you’re eating closer to game time—within 30 to 60 minutes—keep it simple and easy to digest:
• A banana with a spoonful of peanut butter
• Greek yogurt with honey
• A small smoothie
The key is timing. Eating too much too close to activity can leave you feeling sluggish, while eating too little can lead to early fatigue. Finding your personal sweet spot takes a bit of experimentation, but consistency helps.

After You Play: Recovery Matters
Post-activity nutrition is just as important as pre-game fuel—especially if you’re playing regularly or staying active throughout the week.
After exercise, your body is primed to replenish glycogen stores and repair muscle tissue. This is where the combination of carbohydrates and protein becomes essential.
Within about 30 to 60 minutes after activity, aim for a snack or meal that includes both:
• A protein smoothie with fruit
• Chocolate milk (a surprisingly effective recovery option)
• Eggs on toast with avocado
• Grilled salmon with quinoa and greens
For busy parents or those heading straight from a game to the rest of their day, convenience matters. Even something simple—like a protein bar paired with a piece of fruit—is far better than skipping recovery nutrition altogether.
Hydration: What You Think You Know
Hydration is often oversimplified, and there are plenty of myths floating around.
First, you don’t need to “chug water all day” to stay hydrated. Instead, aim for steady intake throughout the day, increasing slightly before and after activity.
Second, sports drinks aren’t necessary for most recreational athletes. Unless you’re engaging in high-intensity exercise for more than an hour, water is usually sufficient. That said, if you’re sweating heavily—especially in the Virginia summer heat—adding electrolytes can help maintain balance and prevent fatigue.
Protein Timing: Does It Really Matter?
Protein plays a crucial role in muscle repair, but the idea that you need to consume it immediately after exercise has been somewhat overstated.
There is a “window” for recovery, but it’s more flexible than once believed. What matters most is your overall daily protein intake.
Still, incorporating protein within a couple of hours post-activity is a smart and practical habit. It helps support recovery and keeps you feeling full and satisfied—especially important if you’re juggling workouts with a busy schedule.
For most active adults, spreading protein intake evenly across meals (rather than loading it all into dinner) is more effective for muscle maintenance and energy.

What Not to Do
When it comes to fueling for activity, avoiding common pitfalls can be just as important as making the right choices.
Don’t skip meals before activity.
Going in on empty can lead to low energy, dizziness, and reduced performance.
Don’t rely on sugar-heavy snacks.
While quick sugar can provide a short burst of energy, it often leads to a crash—right when you need sustained endurance.
Don’t overdo it on supplements.
Most recreational athletes don’t need powders, pills, or performance enhancers. Whole foods are more than sufficient.
Don’t ignore hydration until you’re thirsty.
Thirst is a late signal. By the time you feel it, you’re already slightly dehydrated.
Don’t treat recovery as optional.
Skipping post-activity nutrition can slow recovery, increase soreness, and make your next session feel harder than it should.
Fueling Real Life
Not everyone has the schedule—or the desire—to plan meals like a professional athlete. And that’s okay.
Fueling well is less about perfection and more about consistency. It’s choosing a banana before heading out the door.
It’s keeping a water bottle nearby. It’s grabbing something with protein after you’ve finished playing, even if it’s not a full meal.
For Lynchburg’s growing community of athletes, families, and weekend warriors, these small habits add up.
They support not just performance, but overall well-being—helping you stay active, energized, and ready for whatever your version of “play” looks like.
Because whether you’re logging minutes on the field or running after little feet in the backyard, your body deserves the same thing: fuel that works with you, not against you.