
A Beginner’s Guide to Rewilding Your Landscape
For decades, a lush green lawn was the hallmark of a well-kept home. But more and more homeowners are trading in their turfgrass for something wilder—and more purposeful. Whether inspired by declining pollinator populations, increasing water bills, or the simple desire for a more beautiful and ecologically rich yard, rewilding is having a moment.
Rewilding your landscape doesn’t mean letting it go untamed. Rather, it’s a thoughtful process of transitioning away from traditional grass lawns to native plantings, meadows, or habitat gardens that support biodiversity and require fewer resources to maintain. If you’ve been eyeing your patch of grass and wondering how to begin, fall is actually the perfect time to start laying the groundwork. Here’s how.

Step 1: Start with a Plan
Before you dig in, take a step back. Consider how much of your yard you want to rewild—some people begin with just a corner or border, while others go all-in. Walk your property and note areas of full sun, part shade, drainage issues, or spots prone to foot traffic. These observations will influence the types of plants you choose.
Then, ask yourself a few key questions:
• Do you want a wildflower meadow, a pollinator garden, or a mix of native grasses and shrubs?
• How formal or natural should it look?
• Will you need to maintain some lawn for pets or play?
Sketching out a rough map or plan can help you visualize the change—and stick with it when the grass starts to go.
Step 2: Remove the Turf
Turfgrass is persistent. Removing it is the first and most labor-intensive part of rewilding. There are a few methods to consider:
• Sheet Mulching (Lasagna Method): Best started in fall. Lay down cardboard or newspaper directly over the grass, then top with layers of compost and mulch. By spring,
the grass will be smothered, and the soil will be richer.
• Sod Cutting: Use a sod cutter to remove grass manually. This provides an immediate blank slate but can disrupt soil health.
• Solarization: Place clear plastic sheeting over the area during the heat of summer. This “bakes” the grass and weed seeds, preparing the site for fall planting.
For small patches, a shovel and persistence may do the trick. For larger spaces, combining methods—like solarizing one area and sheet mulching another—can be effective.
Step 3: Test and Amend the Soil
While many native plants are forgiving, it’s helpful to know your soil type (clay, loam, sandy) and pH. Home soil test kits or local extension offices can help you assess.
Avoid the temptation to over-amend—many native plants thrive in poor soil. Still, incorporating a bit of compost into compacted or depleted areas can give young roots a boost.
Step 4: Choose the Right Plants
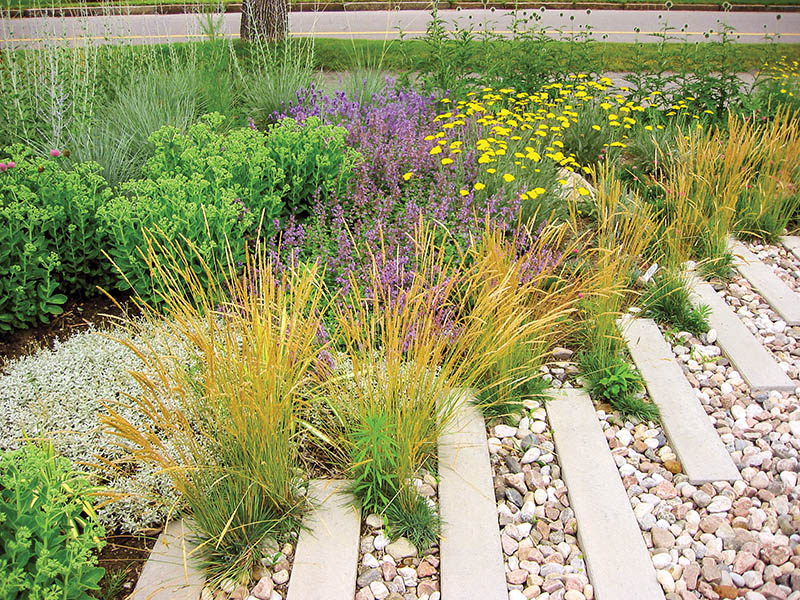
One of the joys of rewilding is discovering the diversity of plants native to your region. For Central Virginia, that includes black-eyed Susans, purple coneflower, bee balm, milkweed, little bluestem, switchgrass, and more.
Fall is an ideal time to plant perennials and grasses—cooler temperatures and autumn rains help roots establish before the dormant winter period. Even if you don’t plant this fall, it’s a great time to plan and source plants for a spring installation.
Consider using a mix of:
• Native grasses like little bluestem or Virginia wild rye
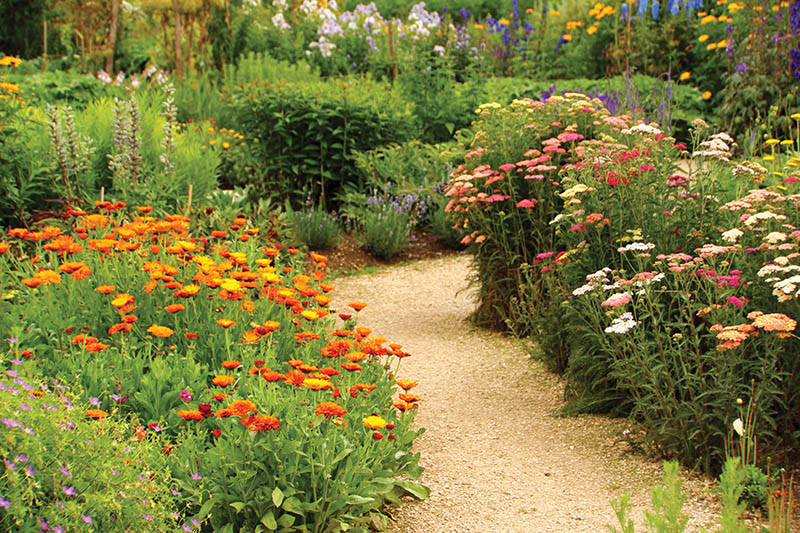
• Perennials for color and pollinators—think goldenrod, asters, and Joe-Pye weed
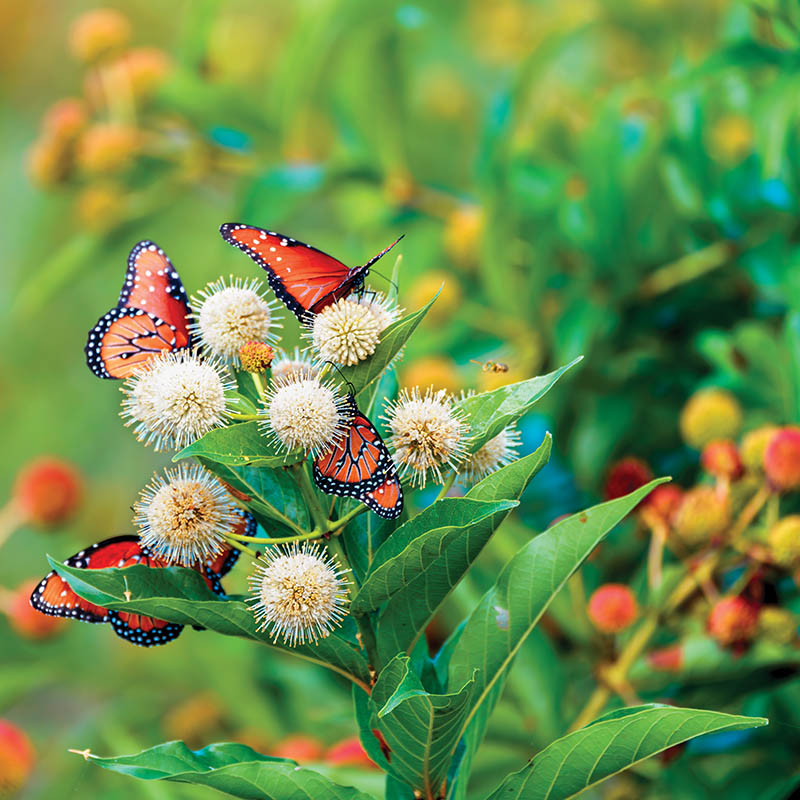
• Shrubs like buttonbush or winterberry holly for structure and wildlife value
Local native plant nurseries or Master Gardener groups can help you find plants well-suited for your yard’s conditions.
Step 5: Planting and Mulching
Planting in fall typically runs from late September through mid-November in our region. Space plants according to their mature size, even if they look sparse now.
Mulch around new plants with shredded leaves or natural wood mulch (but avoid dyed mulch). This helps suppress weeds and retain moisture, especially in the first year.
If you’re seeding a meadow, fall is also ideal for “dormant seeding”—spreading seed just before winter so it naturally stratifies and germinates in spring. Prepare the soil surface, rake lightly to incorporate seed, and press down gently to ensure good contact.
Step 6: Embrace the First-Year Wildness
The first growing season will look different than a manicured garden. It may take a year or two for your rewilded landscape to fill in and begin to self-sustain.
Expect some weeds—early maintenance includes hand-pulling or cutting back aggressive invaders. Watering is also crucial in the first season, especially during dry spells.
In winter, leave seed heads and stems standing to provide food and habitat for birds and beneficial insects. What might look “messy” to some is actually part of a healthy, functioning ecosystem.
Step 7: Long-Term Care and Evolution
After the first year, your rewilded garden will require far less work than a traditional lawn. Native plantings generally don’t need fertilizer, and once established, they’re drought-tolerant and low-maintenance.
Cut back dead stalks in early spring (not fall) to allow overwintering insects to emerge. Re-seed or divide as needed, and enjoy the evolving beauty of a space that reflects nature’s rhythm.
Small Steps Make a Big Impact
If the idea of transforming your entire yard feels overwhelming, start small. Convert a strip by the sidewalk into a pollinator border. Replace part of the backyard with native grasses. Every square foot of rewilded land makes a difference—for butterflies, birds, bees, and for you.
With fall on the horizon, now is the perfect time to begin the transformation. The rewards are plentiful: less mowing, more beauty, and a yard that gives back.


